Pages

Wednesday, June 25, 2014

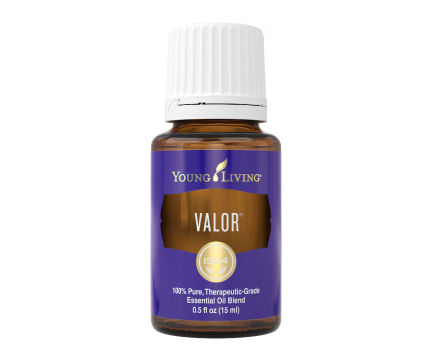
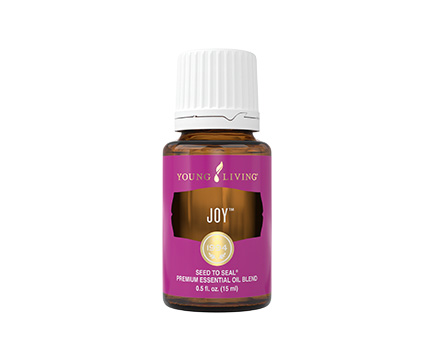
Stress Away, Valor and Joy Essential Oils

I decided to do a combined post on these 3 oils because I don't have quite as many personal stories to tell of the greatness of these oils compared to some of the other oils that I use daily!

All of these oils are well-worth having and I am thankful I have all 3!

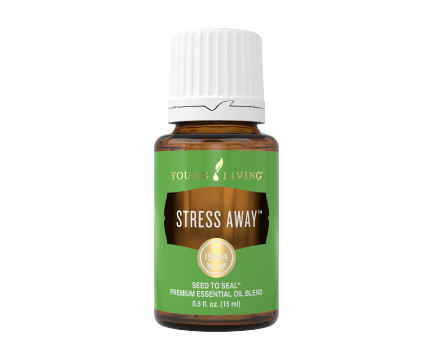
Stress Away is definitely my favorite out of these oils. It smells heavenly! This oil is a combination of Copaiba, Lime, Cedarwood, Vanilla, Ocotea, and Lavender. We use Stress Away to help calm stressed nerves or to help improve attitude (especially during school when everyone is tired and spent!). I also discovered that Stress Away is a good nighttime relaxer for my oldest son so I frequently use that as his "sleepytime oil".

Valor is an oil that I have used a handful of times, mainly to help my oldest son to concentrate and feel confident during difficult school-time tasks. I have also used Valor to help improve depressed mood in certain family members who struggle with depression. Further, Valor has helped my mom who suffers from Plantar Fascitis. Like I said, I don't have a long list of uses for Valor yet but I am sure over time, that will change and I will have more stories to tell!

When I first smelled Joy, I greatly disliked it's scent. To me it was strong, flowery and unpleasant! Over the months, I have come to like it a bit better, particularly in the diffuser with another oil that mellows the strong scent. The main way we have used Joy is for a mood booster. Many times during the school year, our diffuser combo of choice was Lemon and Joy...actually a very nice combination! Joy is another one of the oils that to makes a difference for my family member who struggles with depression.


Disclaimer: I am not a medical professional and cannot diagnose, cure or treat any illness or malady.

Tuesday, June 17, 2014

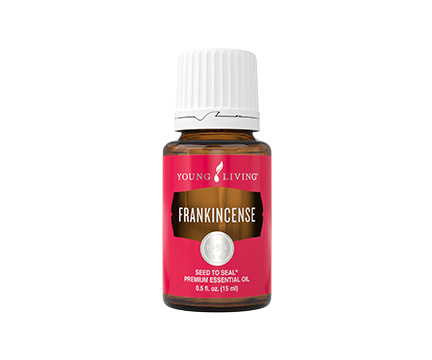
Frankincense Essential Oil

Frankincense is a very precious and valuable oil. It is amazing (in my opinion!) that it is included in the Everyday Oils Kit because of its value.

Though we don't use Frankincense on a daily basis in our home, we have used it a number of times. We do tend to keep it for necessary use only though it smells wonderful and I would love to diffuse it more frequently!

One of the most amazing things I have learned about Frankincense is that it has been proven to help treat cancer. Dr. H.K. Lin has done extensive research on the use of Frankincense in the treatment of cancer and the results have been astonishing! Find one of his articles here.

I have also been surprised and excited to learn that Frankincense can be a powerful mood lifter. I have a family member who has been very positively affected by the use of Frankincense in regard to depression. Diffusing it helps dispel the low mood and anxiety he feels.

We also have used Frankincense a number of times in the cold and flu bomb which is an incredible oil combo that will kick even the toughest cold out there!

To top off the awesomeness of Frankincense, it smells amazing!


Disclaimer: I am not a medical professional and cannot diagnose, cure or treat any illness or malady.

Sunday, June 15, 2014

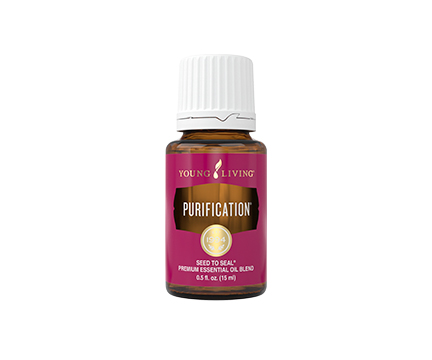
Purification Essential Oil

In my opinion, the unique scent of Purification is delightful! This oil is a blend of Citronella, Lemongrass, Rosemary, Melaleuca, Lavandin, and Myrtle. Purification is one of those oils that came in the Everyday Oils Kit and that didn't get a whole lot of use at first. I used it here and there to clear the room of a lingering unpleasant smell or to freshen laundry but the bottle stayed pretty full for the first couple of months. 
However, when our family had a winter bout with some very unpleasant colds, Purification was the oil I pulled out to help with sore ears. My husband got to the point where he felt as though he either had an ear infection or was flirting with one and after using Purification behind his ears several times, he avoided a trip to the doctor as well as avoided OTC or prescription meds to treat it. 


Here are a few ways our family has used Purification:
  • In the dryer to help get rid of the smoky scent of a campfire on pillows or blankets (Place a few drops on a clean, damp washcloth and throw into the dryer with wet, stinky clothes to help remove the odor)
  • Diffused in a room with a lingering bad smell (ie. strong cooking smells, boys' bathrooms etc!)
  • Ear pain or ear infections
  • Itch relief for bug bites
  • Bug repellent

Disclaimer: I am not a medical professional and cannot diagnose, cure or treat any illness or malady.

Friday, June 13, 2014

Crossfit WOD - here's a quick one!

Do this workout as quickly as possible to get your heart rate up! Enjoy!

40 sit-ups
40 squats

30 sit-ups
30 squats

20 sit-ups
20 squats

10 sit-ups
10 squats


Tuesday, June 10, 2014

Strawberry Rhubarb Jam

I have a friend who recently gave me a bunch of rhubarb from her garden so I decided to make Strawberry Rhubarb Jam. It turned out delicious and we have a beautiful supply to last us quite a while! The recipe is super simple...I modified it just a tad.

Rhubarb Strawberry Jam

Ingredients
2 lbs fresh rhubarb, trimmed of green or soft areas, cubed into 1/2-inch pieces (about 6 cups)
1 lbs fresh strawberries, hulled and diced (about 3 cups)
2 cups granulated sugar
1/4 cup freshly squeezed lemon juice


1. To prepare for canning: Sterilize 5 half-pint (8oz) jars and keep them hot in the canning pot while
you make the jam. Jar sterilization instructions can be found on www.freshpreserving.com (by Ball).
2. To make the jam: Place a small freezer-safe plate in the freezer.
3. Cook the rhubarb, strawberries, sugar, and 1/2 cup water in a wide, 6- to 8-quart heavy-bottomed
pot over medium heat, stirring frequently until the juices cover the fruit, about 10-15 minutes.
4. Pour the mixture into a colander set over a large bowl, gently stirring the fruit to drain off the juice -
do not mash the fruit. Return the juice to the pot and bring it to a boil over high heat, stirring
occasionally until the syrup has reduced to about 1 1/2 cups, about 20 minutes.
5. Add the fruit and any accumulated juice back to the pot and stir in the lemon juice. Bring the mixture
to a simmer, stirring frequently for about 15 minutes. To test when the jam is finished, spoon a few
drops of the jam onto the chilled plate and return the plate to the freezer for 1 minute; the jam should
become somewhat firm but not gelled. In the meantime, skim off as much foam from the jam in the
pot then remove the pot from the heat and gently stir the jam for a few seconds to evenly distribute
the fruit.
6. Fill a glass blender or food processor with hot tap water and let stand 2-3 minutes. Dump out water. Fill blender half full with cooked jam and process until smooth. Transfer to glass bowl. Repeat with remaining jam until all has been processed smooth. Pour smooth jam back into the pot and reheat until bubbling.
7. Ladle the hot jam into the sterilized jars, leaving a 1/4-inch of headspace between the top of the jam
and the top of the jar. Use a hot damp cloth to wipe the rim of the jars clean, then place a flat lid and
ring on the top of each jar, tightening the ring to just finger-tight.
8. Return the jars to the boiling canning pot, making sure the water covers the jars by at least 1 inch.
Bring the water back to a boil (it will have stopped boiling after you placed the jars in it) and boil for
5 minutes. Remove the jars from the pot and place them on a dish towel - do not touch them or
press down on the lids. After about 1 hour, all of the lids should have popped/sealed. If any of the
lids are able to make a popping sound when lightly pushed on, keep them refrigerated as they have
not been processed properly for room temperature storage. Allow the sealed jars to remain
untouched for 24 hours before storing.
source: adapted from Canning for a New Generation by Liana Krissoff
http://w w w .smells-like-home.com/2012/06/rhubarb-straw berry-jam/
Copyright Smells Like Home. Please provide a link to this recipe should you share you
Sunday, June 8, 2014

Oily Wart Combo!


Though I have posted before about our success with oils in regard to warts (Post: Recent Oily Successes), I thought I would dedicate a separate post to our oily wart cure for those who missed the last combined post about it. Further, a particularly stubborn wart that my son has is beginning to show signs of diminishing so I thought I would highlight again the awesomeness of this oily combo!

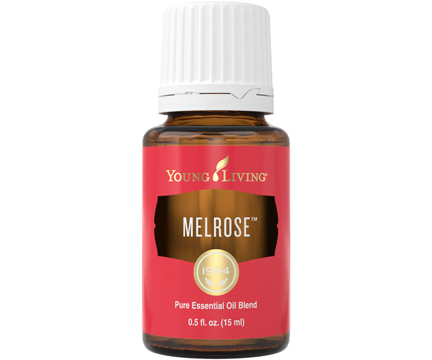
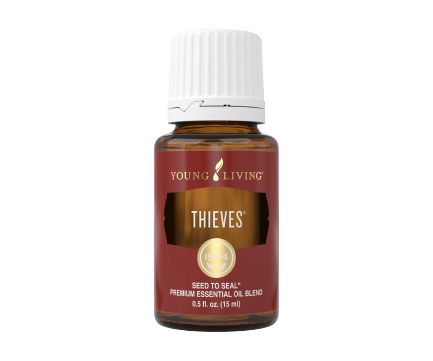
A few months ago, I made a roller bottle of 4 oils in equal proportions: Thieves, Clove, Purification and Melrose. I applied this combo to the warts on my kiddos once a day after their evening shower. So far, we have gotten rid of 4 warts and the fifth is on it's way out! Prior to this success, we tried Frankincense and then Oregano - neither of which did the trick. Just another lesson in the fact that sometimes it take a few tries to find the right combo of oils because not all oils work the same on everyone!


Disclaimer: I am not a medical professional and cannot diagnose, cure or treat any illness or malady.

Crossfit WOD

Run 200 meters
Do 10 push-ups
Run 200 meters
Do 9 push-ups
Run 200 meters
Do 8 push-ups
Run 200 meters
Do 7 push-ups
Run 200 meters
Do 6 push-ups
Run 200 meters
Do 5 push-ups
Run 200 meters
Do 4 push-ups
Run 200 meters
Do 3 push-ups
Run 200 meters
Do 2 push-ups
Run 200 meters
Do 1 push-up

I did this two days ago and I am still SO SORE!! Enjoy!

Tuesday, June 3, 2014

An abundance of fresh kale = a perfect opportunity for LOTS of kale chips!


Though the name may not sound appetizing to some, kale chips are AMAZING!! They are one of our family's favorite side dishes and one sheet of kale chips is never enough!! Not only are they delicious, they are packed with powerful nutrition and extremely easy to make.


Kale Chips (adapted from 500 Vegan Recipes)
12 oz kale, washed, dried and torn into pieces
1 T canola or olive oil
1 T vinegar (any type will work...I usually use white)
1 T nutritional yeast
a few sprinkles of sea salt

Combine all ingredients except the kale. Stir until well combined. Add the kale and use your hands to toss and coat the kale. Spread the kale on a cookie sheet sprayed with cooking spray. Bake at 400 degrees for 10-20 minutes (oven temps may vary) or until crisp.


Sunday, June 1, 2014

Lavender Essential Oil

I've been falling behind on my oil posts....kind of like I have been falling behind on all my posts these days!

I decided to highlight Lavender today because it  seems like it is an oil that I am constantly using. Many people call Lavender the "Swiss Army Knife" of oils because it really does have uses in so many ways. I will highlight just a few!

My oldest son sometimes struggles with allergies. Whenever he is starting to get itchy eyes or he starts sneezing, I hand him the bottle of Lavender and after a few inhalations, he is generally cleared of allergy symptoms. Lavender is also one of the oils used in the Allergy Bomb recipe. Our neighbor's 5 year old daughter got stung by a wasp recently and asked if I knew what to do. Lavender (along with Lemon and Peppermint) helped to clear the redness and the swelling almost immediately.

Our favorite and most frequent uses for Lavender are:

  • allergies
  • burns
  • bruises
  • bee stings
  • Itchy eyes


Disclaimer: I am not a medical professional and cannot diagnose, cure or treat any illness or malady.